
Happy Blog Hop Day!
Tamara Bertram coming to you from Edmonton, Alberta, Canada. Each month demonstrators from around the globe create a new project using current Stampin' Up! supplies that we hope excite and inspire you. With the new 2020-2021 Annual Catalogue going live a few weeks ago we are all now playing with our favourite NEW toys. The hardest part of THIS month's hop was choosing which one(s) to focus on!
I'm actually really surprises at the products I decided on. Flowers are not my usual "go to" ... and, to be honest, the Prized Peony Bundle wasn't originally on my "to-get" list. I DID get it, though, and now I can't seem to stop creating with it! In fact, I am now offering a virtual class USING this bundle! It is a GREAT one for both quick and easy cards AND for intricate, detailed projects. Check out what I came up with, as a treat for my Club Girls this month ...

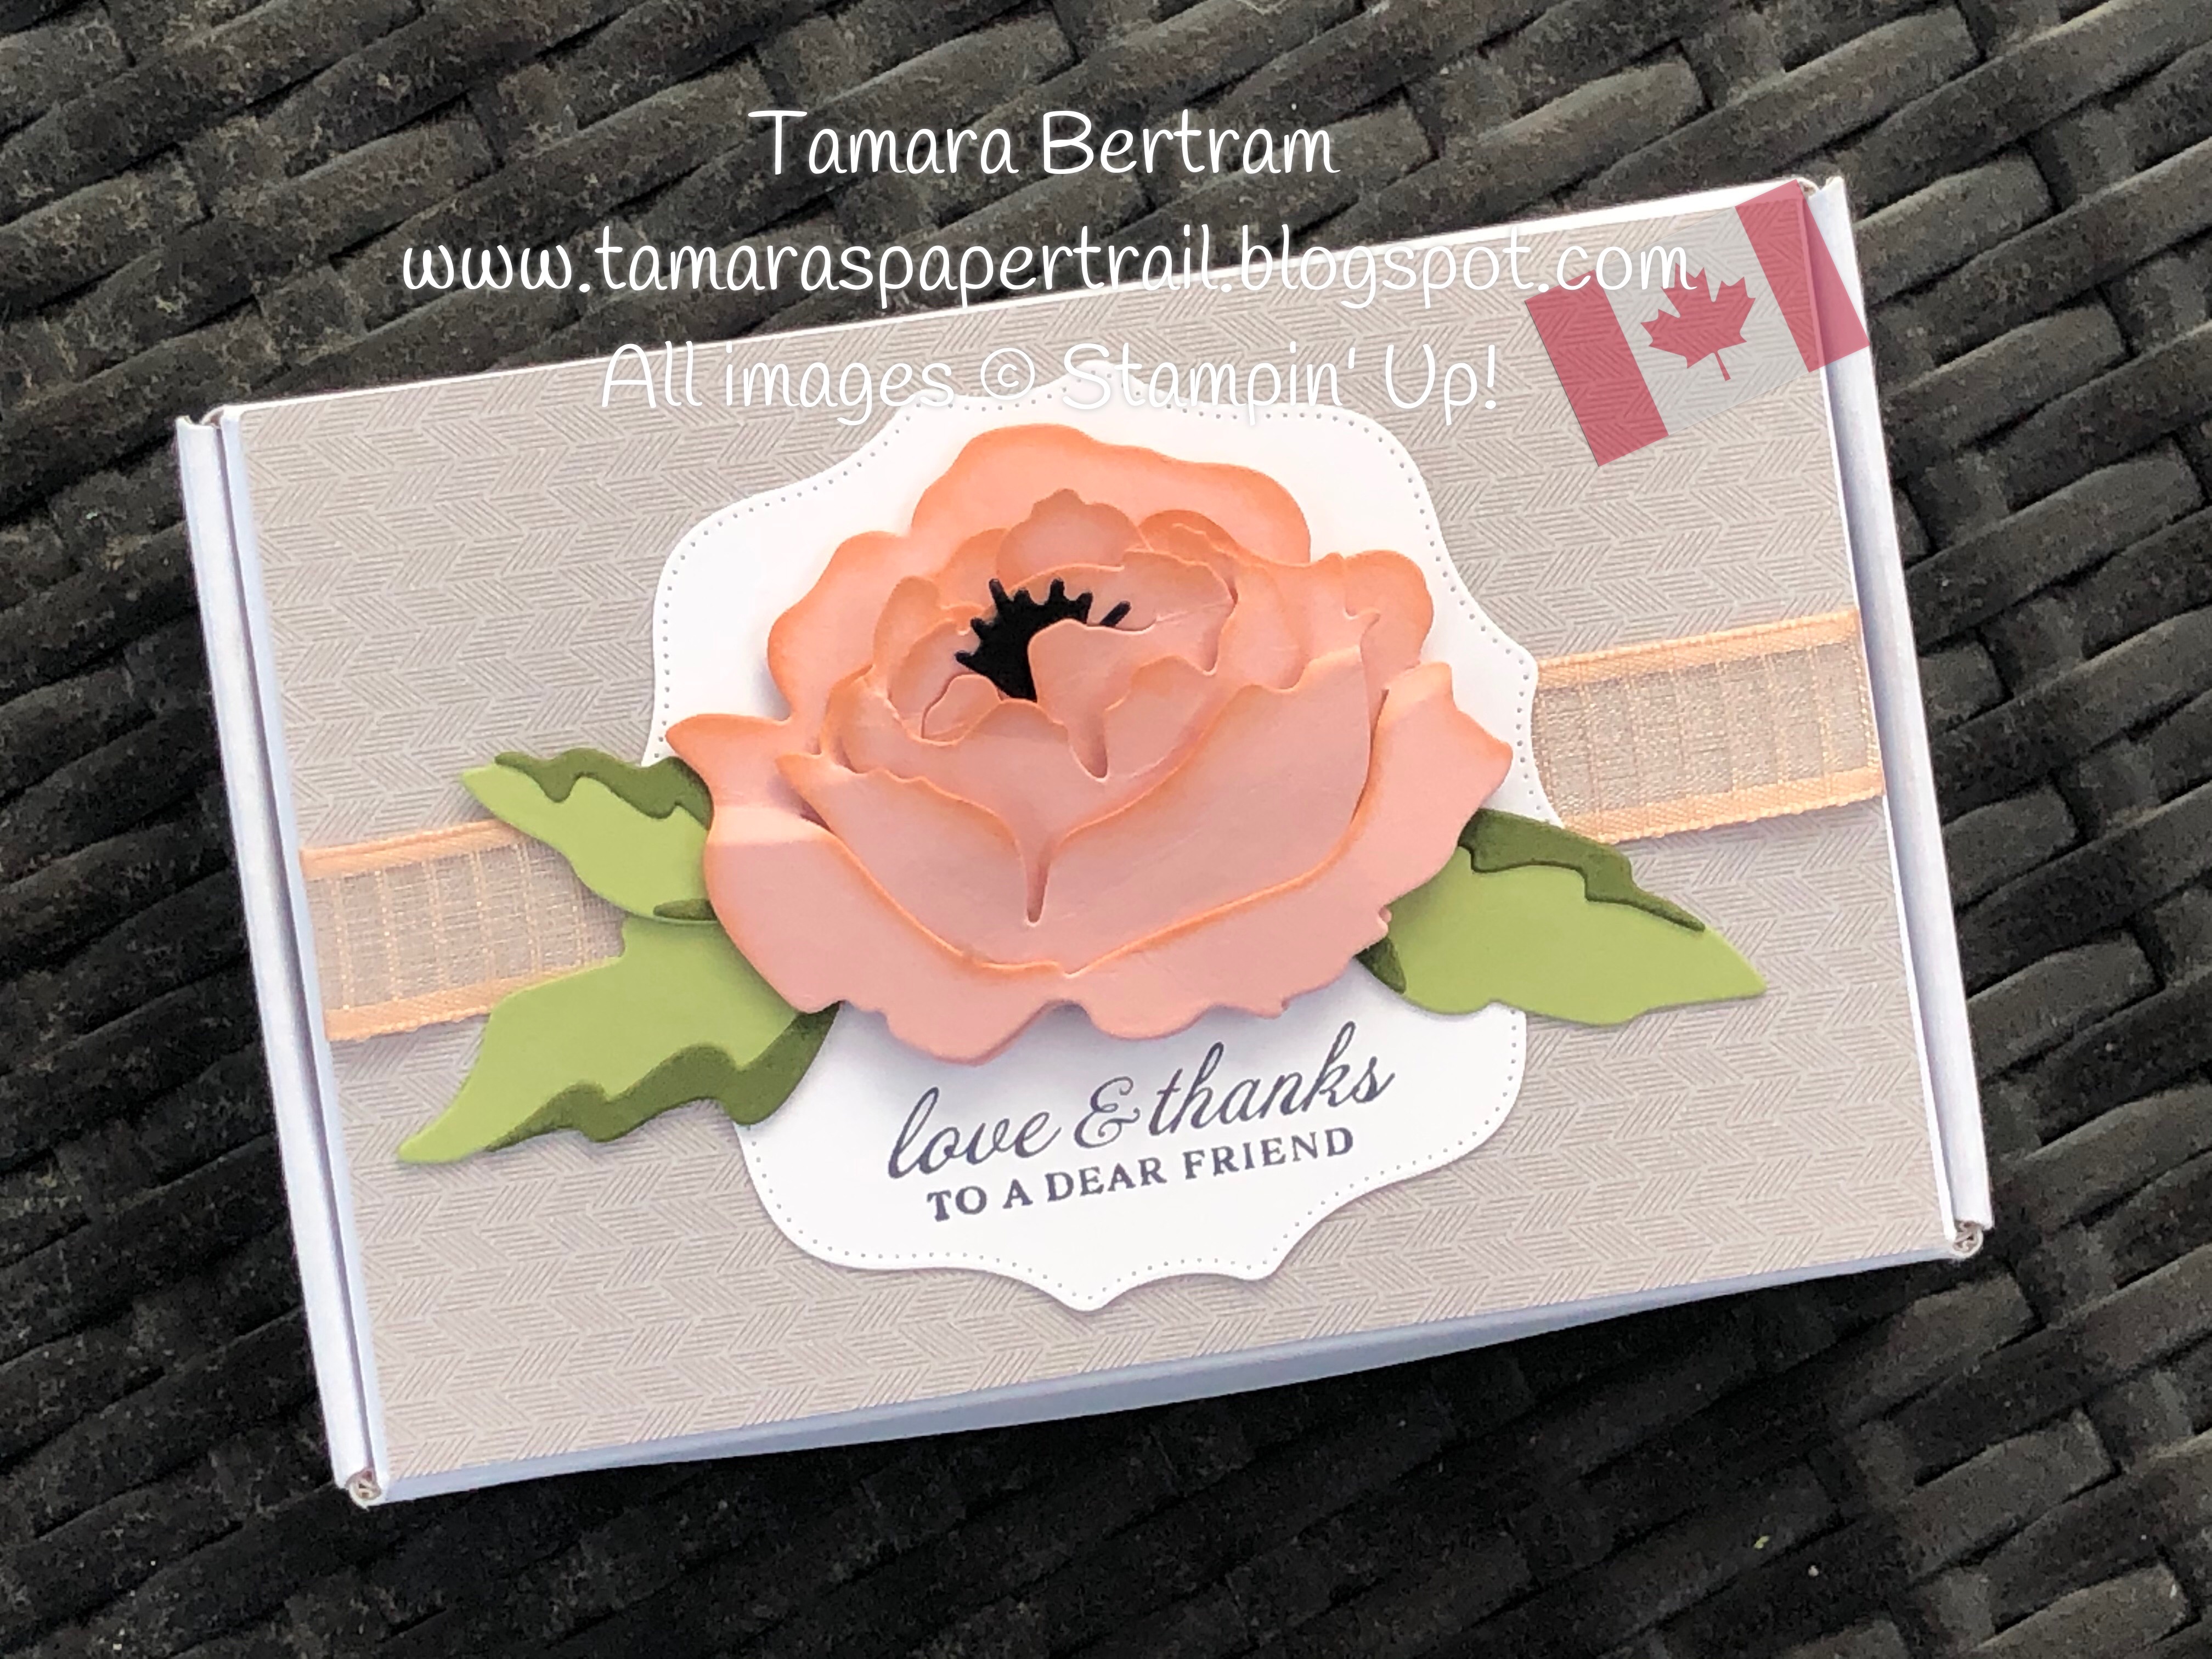
Do you love it??? I do! It's our new mini Paper Pumpkin boxes and inside are five notecards and envelopes. What a GREAT little gift to have on hand for those last minute social distance BBQ's this summer ... or teacher gifts next week ... or any other occasion!


I stamped the sentiment (from Peaceful Moments stamp set) in Early Espresso. I added some Clear Epoxy Droplets for a bit of texture and interest (on other notecards I used our retired Adhesive Backed Sequins, which you can still find in the Clearance Rack). That was it for the cards! I stamped the inside and the envelope and BAM! Done!
Now the Mini Paper Pumpkin box took a little longer ... and yes, the flower IS a little fiddlier than I normally like .. but the result is SO worth it! As with most things, the first one takes the longest, until you figure out what the heck you're doing! The dies LOOK really intimidating but truthfully, there are just 4 cut pieces that make up the flower petals ... and they fit together like a puzzle.

There are numerous YouTube videos to be found on how to sponge and put it together. Our very own Kylie Bertucci has one that shows just how easy it is!
To decorate the box I used a 5 1/2" x 3 3/4" piece of Peony Garden Designer Paper, added a strip of Petal Pink 5/8" Organdy Striped Ribbon, a white label that I cut from the Hippo and Friends dies and stamped the sentiment in Memento Black ink. I popped the flower up on 6 dimensionals and then added the Pear Pizzazz/Mossy Meadow leaves with glue dots.
Yes, more time consuming than my usual projects but SO worth it! I LOVE treating my club girls and this project was perfect. I hope you like it and can find some inspiration!
Click on the links below to see what my friends from around the world have on offer ... and have a stampy day!
Tam
Tamara this box set is stunning! Thanks for taking part in the Maui Achievers Blog Hop this month.
ReplyDeleteThank you Kylie! If it weren't for your video I'd still be sitting here trying to figure out how to put the flower together! lol
Delete