Woodland Wishes - ONE Simple Card Layout — Use Up An Entire Pack of Patterned Paper! MCM Layout Nov 9, 2026
Happy Tuesday! I hope you managed to pop in to my Facebook Live last night for MCM (Mystery Card Monday). I don't know about YOU, but I had SO much fun! A LOT was packed into our hour together, with several tips and tricks shared along the way!
As always, my goal for the evening was to show you a very basic card layout whereby the finished product uses only Stamps, Ink and Paper (SIP). I then added in just one "stepped up" element, a die cut. Both cards are fantastic and you don't have to own "all the things". I originally thought the Woodland Wishes stamp set would be a pain to use, at it required so much colouring ... but it DOESN'T! Check out my cards ...
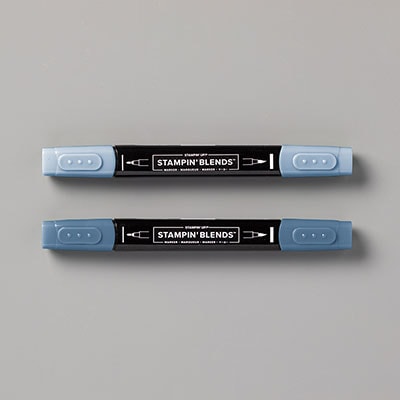
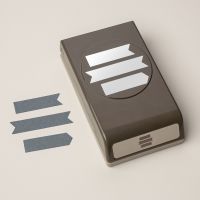
The cards are virtually identical. This one is the most basic - just stamps, ink paper. Basic Beige card stock, patterned paper from Valley in Bloom (!!! not Christmas paper!) and the Woodland Wishes stamp set. You can use the Three Banner punch for the sentiment (stamped in black) or, if you don't have punches, just use scissors to snip around the words! Iridescent Pearls are the embellishments. You can colour the images IF YOU WANT TO! ... or don't .... or just colour a BIT, like I did. I used my light Gray Granite Blend Marker to outline each critter and colour just a few spots. I also used my white GEL pen to accent other elements. I didn't get too twisted if my white covered the black lines of the images. Once the white was dry, I just went back in with my black journaling pen and touched up any areas that needed it. LOVE how it turned out!
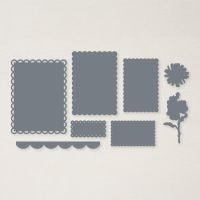
Of course I wanted to "step it up" a bit and it only took this one small change to do so. I stamped the image on a die cut made from the Scalloped Christmas Cheer dies. Everything else is exactly the same, but it just gives it a "little sumthin extra". LOVE IT!
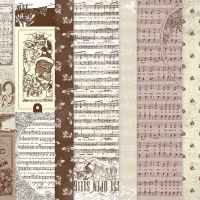
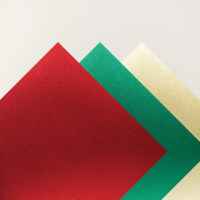
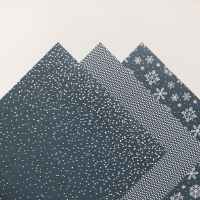
I wanted to try the layout with other papers and sets. LOVE how THESE ones turned out! I used the Festive Cheer Bundle (a "vegetable set", as I called it in my live lol ... watch the replay to hear what THAT'S all about!!) and the paper is from the Yuletide Carols Designer Paper. The paper is Basic Beige. The sentiment and ornaments are stamped in Early Espresso. The embellishments are the Adhesive Backed Sparkle Sequins. The bow is made from the Timeless Metallic Specialty Paper. LOOOOOVE!
I need MORE of that card but ran out of that particular pattern of paper. No worries! I have LOTS of paper lol - this ones is made with the same pack, Yuletide Carols, just a different sheet. The card stock is Gray Granite. Early Espresso ink. Same embellishments as above. Gray Granite strings and I coloured the design on the centre ornament with my Dark Gray Granite Blend Marker. Same card, different pattern paper, very different feel/look! I just LOVE the pop of red!!
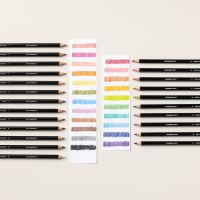
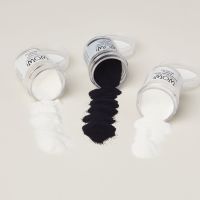
How fun is THIS one? Agin, I used the Woodland Wishes set. The Designer Paper is Winter Dreams Specialty Designer Paper (it's embossed!) and I heat embossed the image and sentiment with White Embossing Powder. I coloured the images with my White Watercolor Pencil. Embellishments are our Iridescent Pearls.
Here are all the cards together. one layout, four very different looks!
I truly LOVE this layout, as it DID help me use up an entire pack of paper!!
This is the card that inspired me this week. It was made by Holly Sabara, fellow Canadian Demonstrator. I simply took her version, had a few mine tweaks and made it my own. GREAT card, Holly!
These are the cards I made, CASEing Holly's .. ALMOST the exact same layout.
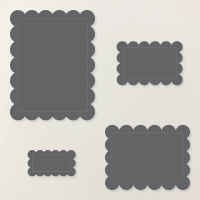
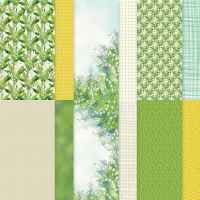
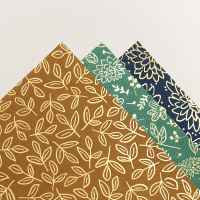
The difference in the above from Holly's, is that I used some retired dies for my layers. The designer paper layer comes from our Product of the Month Paper, Luxe Foliage. I USED THE ENTIRE PACK making 54 of these cards!!! The dies I used are out retired Scalloped Contour dies, which were part of the Colored Contour Bundle. These dies are AWESOME and will forever live in my stash! I originally chose them because the top die was the perfect size for the image. I also had fun going through my hoarded stash of embellishments! I used our old Shades of Green Hexagons, our old Champagne Basic Jewels and our (still current) 2025-2027 In Color Flat Pearls. To colour the images I used my light Smoky Slate Blends and then accented with the Peaceful Pine Shimmer Brush, Golden Glow Shimmer Brush and Misty Moonlight Light Blend (then with Wink of Stella on top). It felt SO good to use some of my old stuff! NO MORE HOARDING! USE IT!
So there you have it. LOTS of ways to use this layout as a jumping off point. Use what you have and made changes as needed ... and do your best to use up and ENTIRE pack of designer paper! If you want to create a card similar to mine, here is the "recipe" of pieces to prep ....
... and here is the MCM Live replay showing you how to put it all together ...
OK! That's it for this week. If you would like to join me LIVE for my MCM (Mystery Card Monday) sessions, you can catch me on my FaceBook Pagehere at 7:00 pm Alberta Time (ABT) every Monday ... or on my YouTube Channelhere at the same time (I stream live to both). Like and Follow my FB Page and/or Subscribe to my YouTube Channel. I'd love to have you - the live community is AMAZING and so much fun!
If you live in Canada and would like to purchase any of the items I used for my cards, just click any of the pictures below and you will be taken to my Stampin' Up! online store. (I apologize that not all products are shown! When I do a blog post before the product is available for sale I can't add it to the list shown below.) Thank you! I appreciate your support!









No comments:
Post a Comment