


Fun, right??? Fall cards are my favourite ones to make. As such, I also find them the EASIEST to make!
For this particular card I decided to go with a non-traditional fall colour palette: Blackberry Bliss, Rich Razzleberry, Polished Pink and Bumblebee. I took my inspiration for the colours from the DELICIOUS new Blackberry Beauty Designer Series Paper in the holiday catalogue ...

Although I LOVE colouring, I wanted to make a card that didn't NEED to be coloured (after all, we don't always have lot of time to make a great card, right?) so I decided to use the "Baby Wipe Technique" to get a pretty, colourful image without all the work.
If you aren't familiar with this technique, here's a quick run down ...
You are essentially making your own, multicoloured ink-pad using a baby-wipe (you can also use a paper towel).
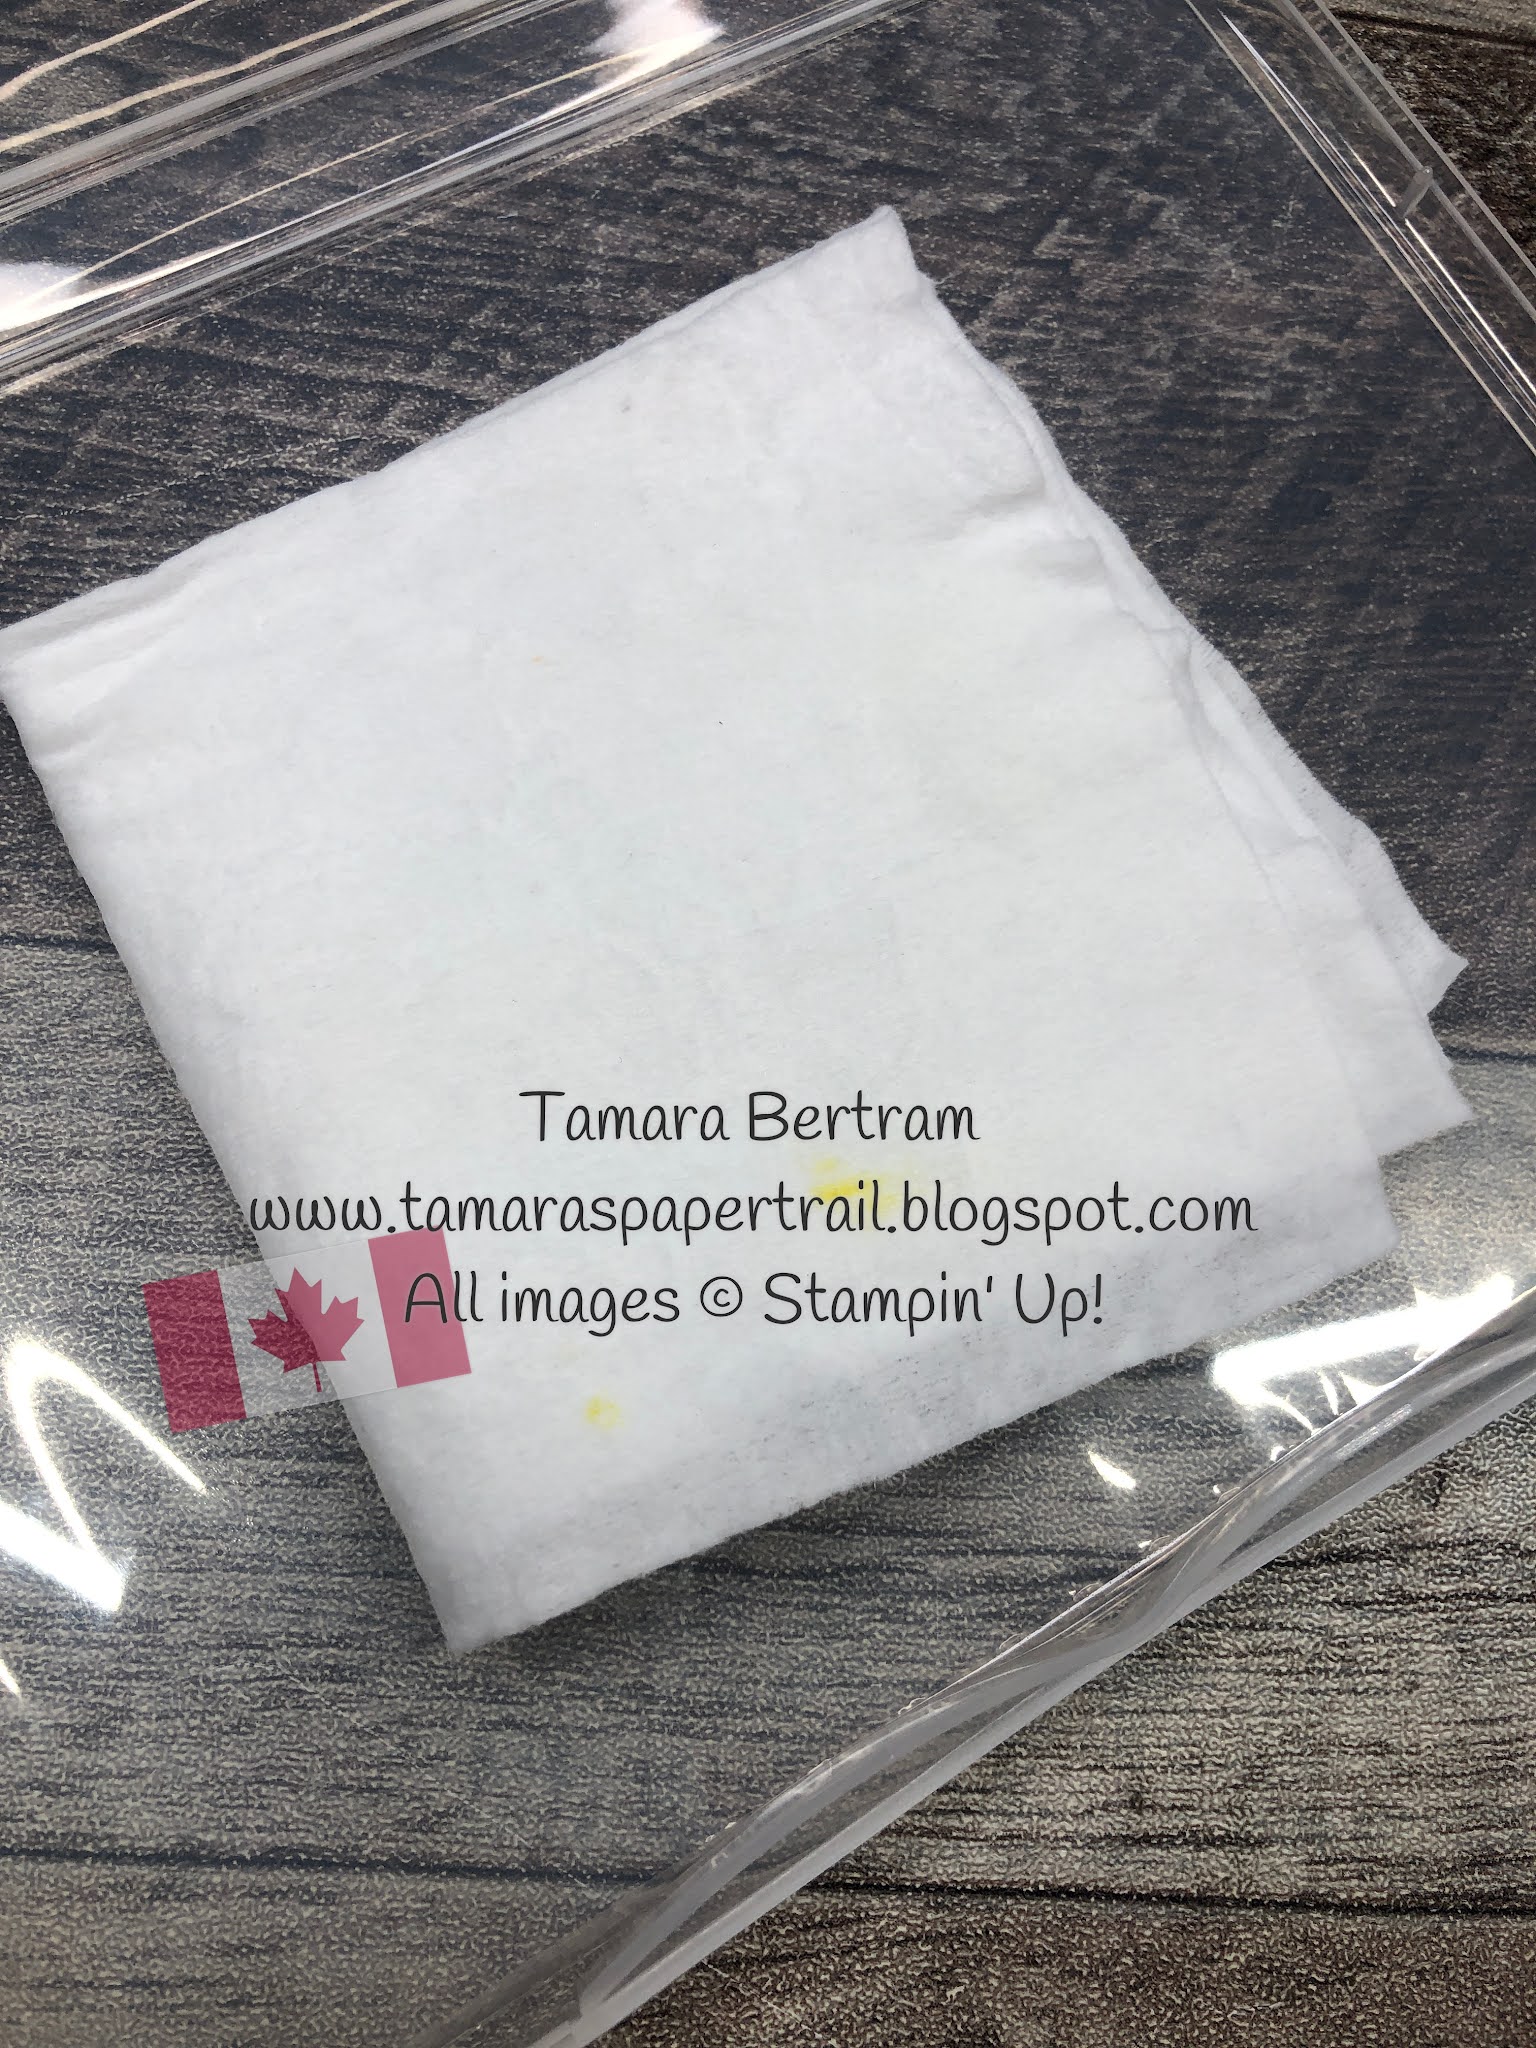
Start by opening one of our DVD cases (did you know we sell 4-pack of empty ones? True story!) and placing a folded baby wipe inside it. You can also use a plastic or tin foil container, or a piece of tinfoil or acetate .. just something that will protect your work surface, as the ink will bleed through the baby wipe.
We will be adding drops of our reinkers onto the baby wipe. In order to establish the approximate size my little ink pad needs to be, I take the image I plan to stamp and stamp it into the clean baby wipe ...

Next you add drops of reinker to make your "ink pad ..."


Make sure that after you stamp your image you clean your stamp before reinking it in the baby wipe ink pad. You don't want to "muddy" your image. Cleaning it will ensure a pretty, colourful image every time.
You want to stamp multiples when you do this technique. You can't just put your baby wipe ink pad on the shelf and come back to it later. The longer you leave it, the more the inks will spread and bleed into each other and, eventually, the colours will be one big, muddy colour. You want to keep the colours distinct and "crisp" for a beautiful stamped image ...


 So there you have it! My project featuring the Pretty Pumpkin Bundle, combined with the "Friendship" theme. I hope you like it and I encourage you to try the Baby Wipe Technique on a project of your own! I'd love to see what you come up with!

To complete my card I used a Rich Razzleberry layer measuring 5 1/4" x 4" and a Basic White layer of 5" x 3 3/4", run through the Timeworn Type 3D Embossing Folder. I punched out pumpkins in Bumblebee, Rich Razzleberry and Blackberry Bliss and a leaf in Bumblebee. All of the pumpkins are adhered flat (with mini glue dots), except for the top Razzleberry one, which is popped up on dimensionals. I fussy-cut around the sentiment and popped that up on dimensionals as well. Some Artistry Blooms Adhesive Backed Sequins finish it off!

So fun! ... except for trying to photograph it! lol. Once again I have proven to myself that it is VERY hard to get a good picture of projects using the dark Berry colours! I must have taken 20 before I got a shot that was even CLOSE to the true colour! ... and of course my little fluffy buddy adds a whole new level of frustration to the process ..

I wanted to try the same technique and layout using more traditional fall colours. Yup, I love it just as much!


Now hop along and see what my friends have come up with for you ... and have a stampy day!
Tam
*** The list of products used are at the end of this post. I added the items used for the less traditional (purples) card first, followed by those used for the more traditional colour card.
Product List 


")

 Specialty Paper")
 Shimmer Ribbon")


